

Create one
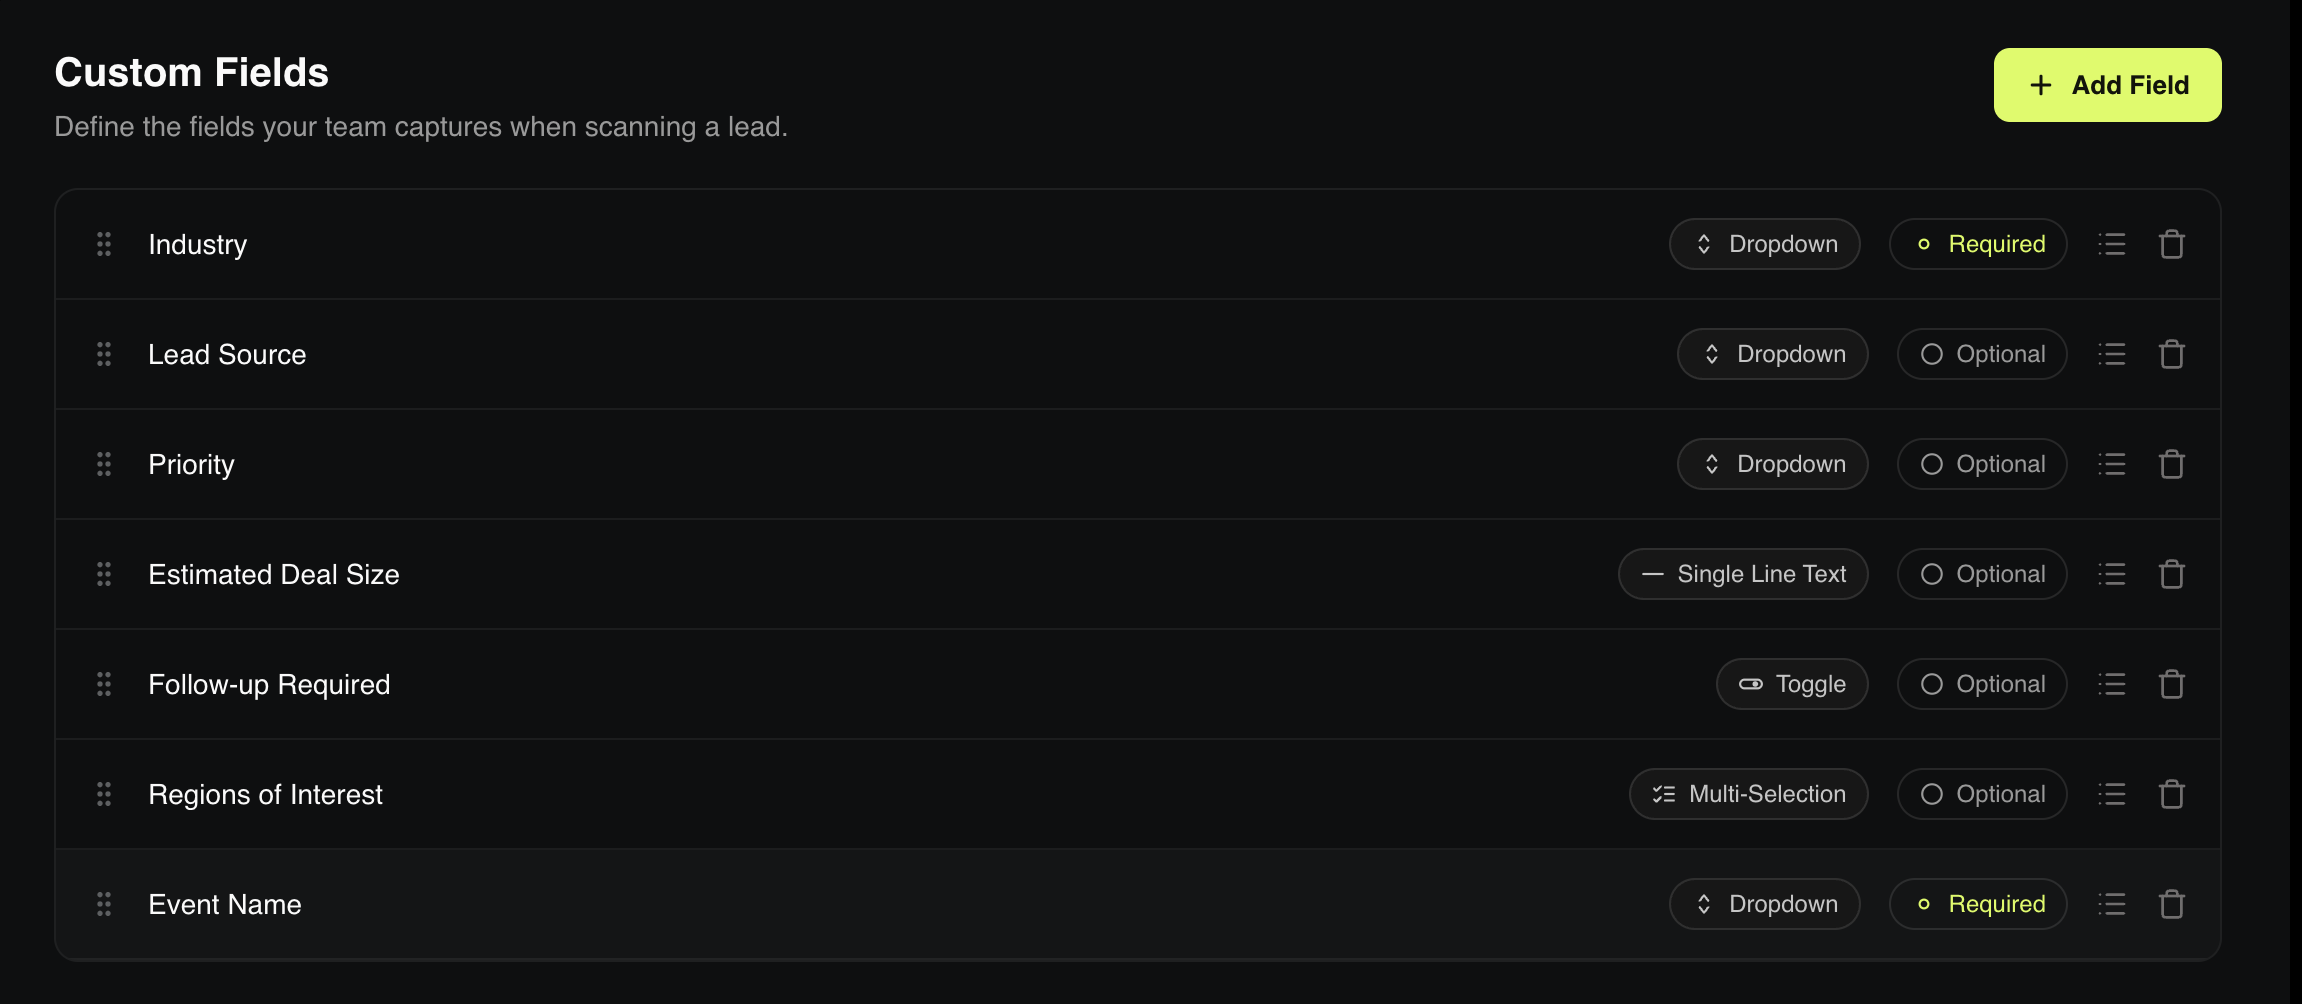
In the portal, open Custom Fields. The section describes itself plainly: "Define the fields your team captures when scanning a lead."
Add a field, name it, and choose its type.

The field types
Type | Use it for |
|---|---|
Single-line text | Short free text, a referrer's name, a booth number |
Long text | Anything that runs on |
Dropdown | One choice from a fixed list |
Multi-selection | Several choices from a fixed list |
Toggle | An on or off switch |
A field can be marked required, so it can't be skipped.
Prefer a dropdown to free text wherever you can. Free text gives you "Lead", "lead", "LEAD " and "warm lead" in the same column, and none of it filters or reports usefully. A fixed list stays analysable a year later.
What you can capture
Where you met: the event or channel. Dropdown.
What they want: the product or interest. Dropdown.
Next step: send pricing, book a demo, no action. Dropdown.
Reorder, edit, and set a default for a field's values
For Dropdown and Multi-selection fields, one panel handles the values: adding them, reordering them, editing them, and setting a default.
This is a portal task. Open Custom Fields in the portal and click the list icon on a field to open its values.
Reorder: drag a value into place. The order you set is the order it appears everywhere: the app's picker, the portal's leads and analytics filters, and further down the list where chips get truncated behind "+N more."
Edit a value: click its text, change it, then press Enter or click elsewhere to save. This renames the option everywhere it's used, including on leads that already have it set — the option itself doesn't change, only its label.
Remove a value: click the × on its chip. A field must keep at least one value.

The app shows this but can't change it. Both the app and the portal display the saved order and mark the default option, but reordering values and setting a default are done in the portal only. See Use custom fields in the app.
Set a default value
Every field type can carry a default, which pre-fills the value on a new lead:
Type | Default |
|---|---|
Dropdown | One option, click its star to set it, click again to clear it |
Multi-selection | Any number of options, click a star to add or drop one |
Toggle | On or off, with a switch |
Single-line text / Long text | A line (or block) of default text |
Defaults apply going forward only. A default pre-fills leads created after you set it. It's never added to a lead that already exists, even one where that field is empty. Whoever is capturing the lead can still change or clear a pre-filled value before saving.
Deleting a Dropdown option that's the field's default clears the default in the same step, so nothing is ever left pointing at an option that no longer exists.
Required fields
Marking a field required guarantees you get it. It also blocks saving a lead without it, which at a busy event means people either invent a value or stop capturing.
Make a field required only when a lead is genuinely useless without it.
Getting them into your CRM
Custom fields are only worth capturing if they land somewhere. Map them so they arrive in the right CRM field rather than vanishing. See Map custom fields to your CRM.
They appear everywhere your leads do
Once a field exists, it follows your leads through the portal without any further setup:
A column of its own on the Leads table, in the order you defined the fields.
A filter in the Filters panel, matched to the field type.
A column in the CSV export, headed with your label, with dropdowns exported as the option's label and toggles as
YesorNo.