Integrating Covve Scan with Hubspot is a great way to increase data entry efficiency. This Zapier automation will create a contact in Hubspot every time that you scan a card in Covve Scan, and will pass on all the details from the business card into Hubspot, without you having to type a single character!
Here's how to set this up in a few simple steps:
1. Access the Covve Scan - Hubspot template and tap 'Try it'
2. Make sure you are logged in your Zapier account
3. Go to Covve Scan and get your api key for Zapier. You can find it in the Covve Scan app -> Settings
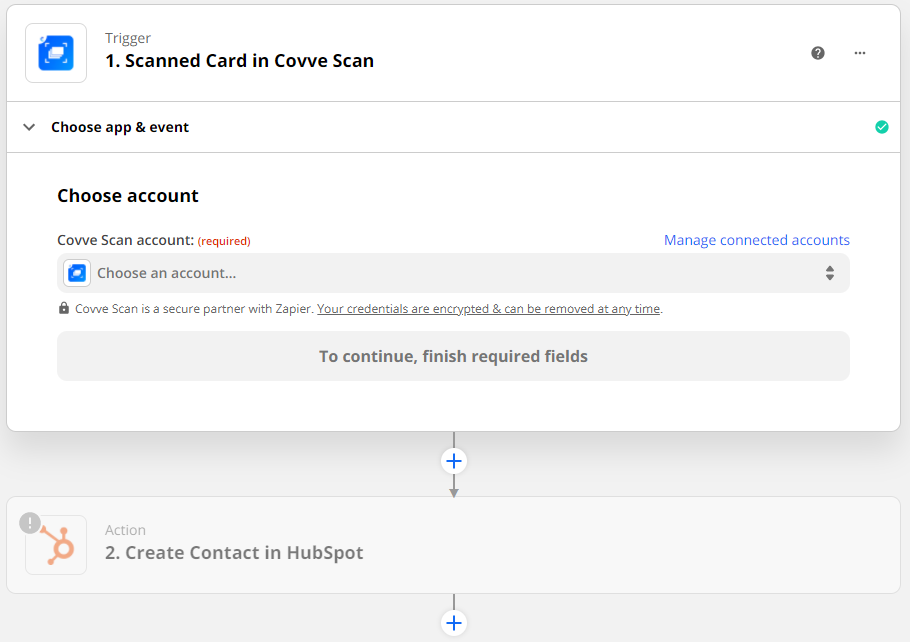
4. Enter your api key to connect your Covve Scan account in Zapier.
Note that if you have already connected Covve Scan to Zapier before, then you will not be asked for the API key at this stage.
Verify that the identifier in the “” is the same with your UserId in Covve Scan (You can find it in Settings -> User Id), and click 'Continue'.
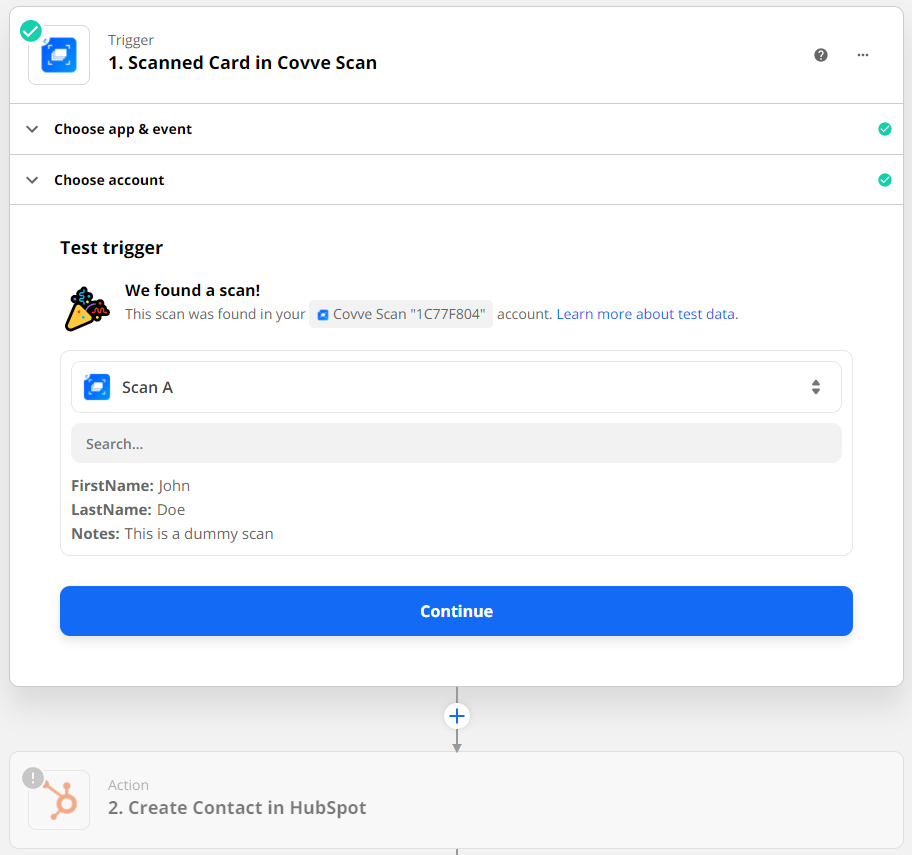
5. You can test the connection with a dummy scanned card (optional).
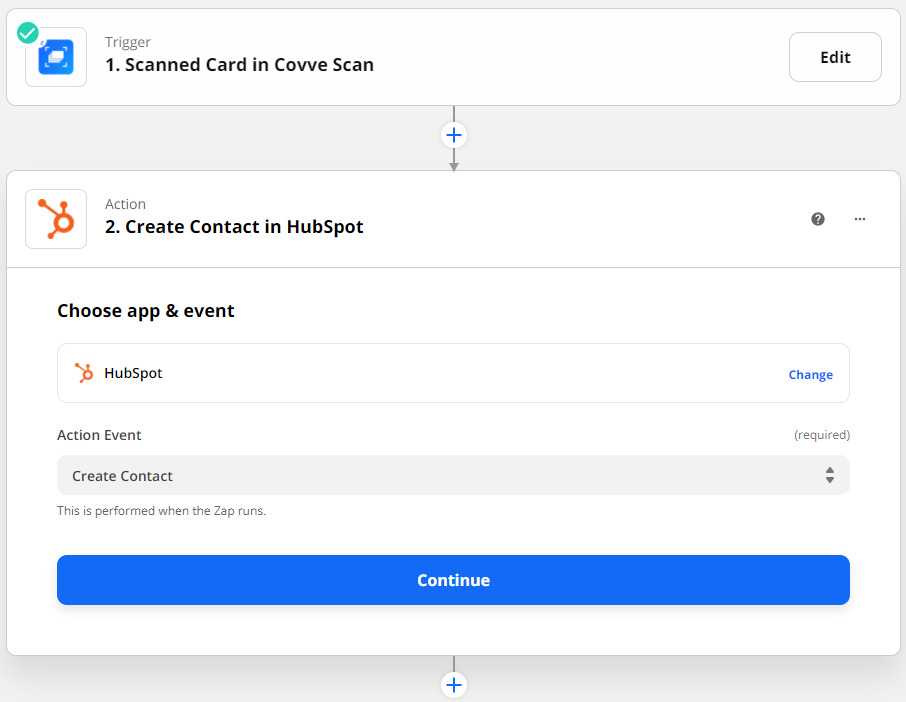
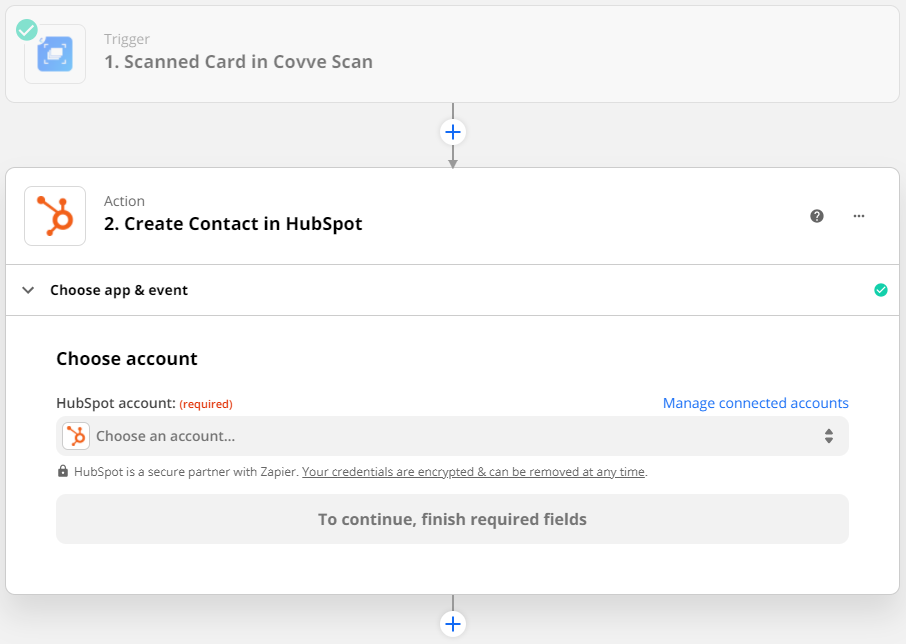
6. Select the destination action. This is the action that will take place in Hubspot, when you scan a card in Covve Scan. e.g. Create Contact.
7. Enter your Hubspot credentials to link your Hubspot account.
8. Map the fields as follows between Hubspot and Covve Scan as follows:
Hubspot -> Covve Scan
First Name -> First Name
Last Name -> Last Name
Contact Information: Job Title -> Job 1 - Title
Contact Information: Company Name -> Job 1 - Company
Contact Information: Street Address -> Full Address 1
Contact Information: Mobile Phone Number -> Phone 1
Contact Information: Phone Number -> Phone 2
Contact Information: Email -> Email 1
Contact Information: Website URL -> Website 1
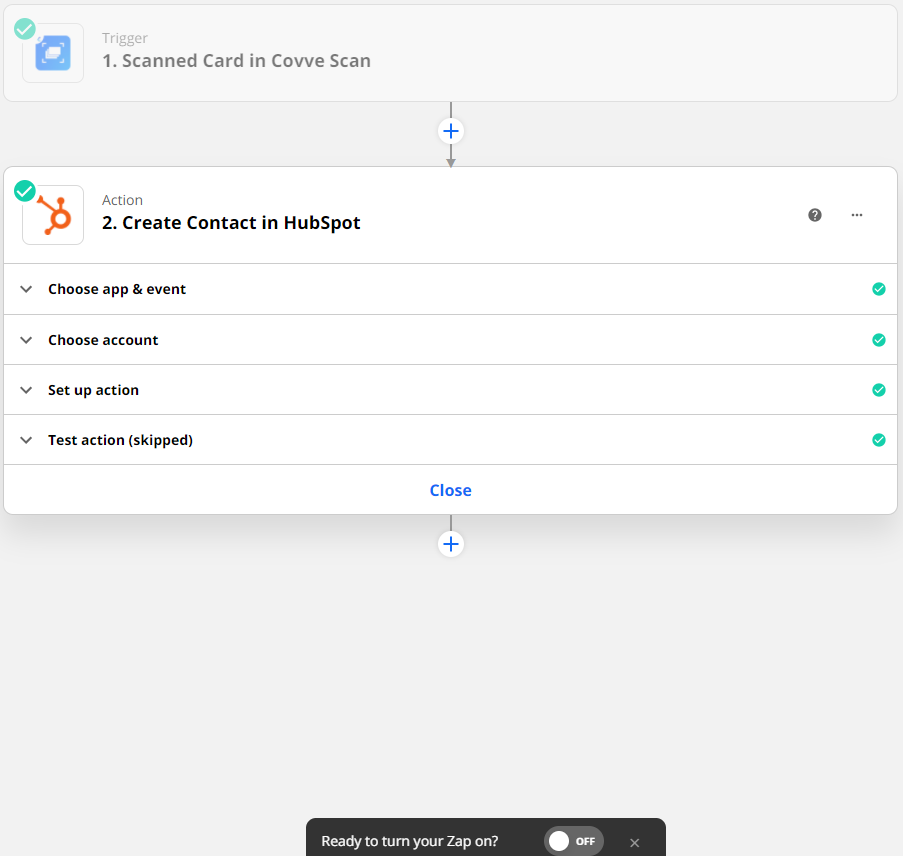
9. (Optional step) - You can test the action, and the dummy card data should appear in Hubspot.

10. Turn your zap on, and you are good to go!
From now on, all your new scans will automatically be sent to Hubspot.